Prerequisites
- An active Leadvista AI account
- A Zapier account (free or paid)
- Access to Agents > Integration in your Leadvista AI dashboard
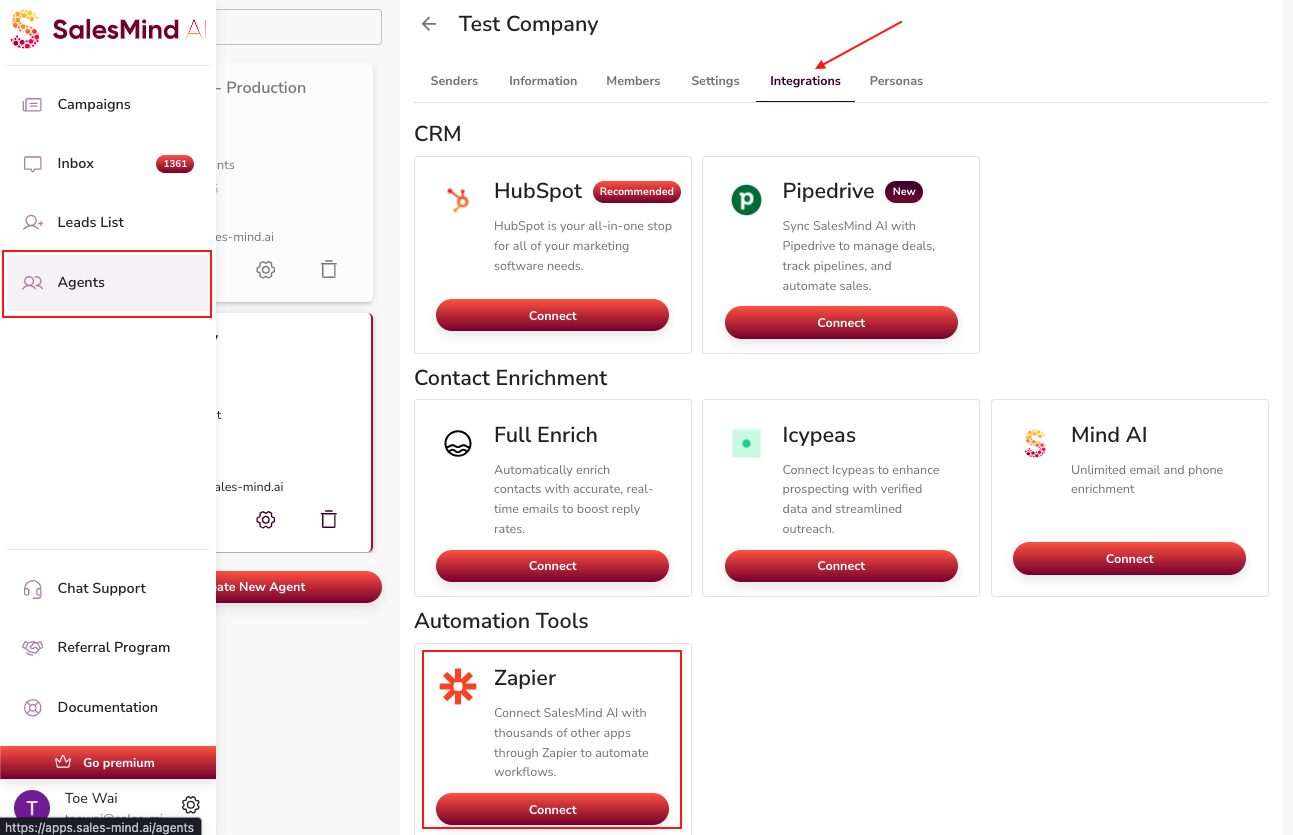
Step 1: Access the Zapier Integration
- In Leadvista AI, go to Agents > Integration > Zapier.
- Click Connect.
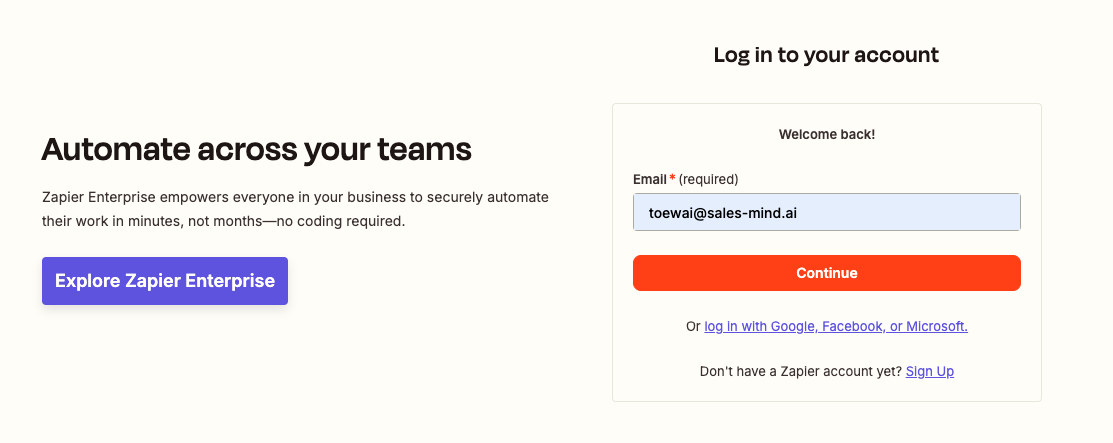
Step 2: Log In or Sign Up to Zapier
You'll be redirected to Zapier's site.
- Log in with your existing Zapier account, or sign up for a new one.
Step 3: Accept the Invite and Build a Zap
- Once logged in, click Accept Invite & Build a Zap.
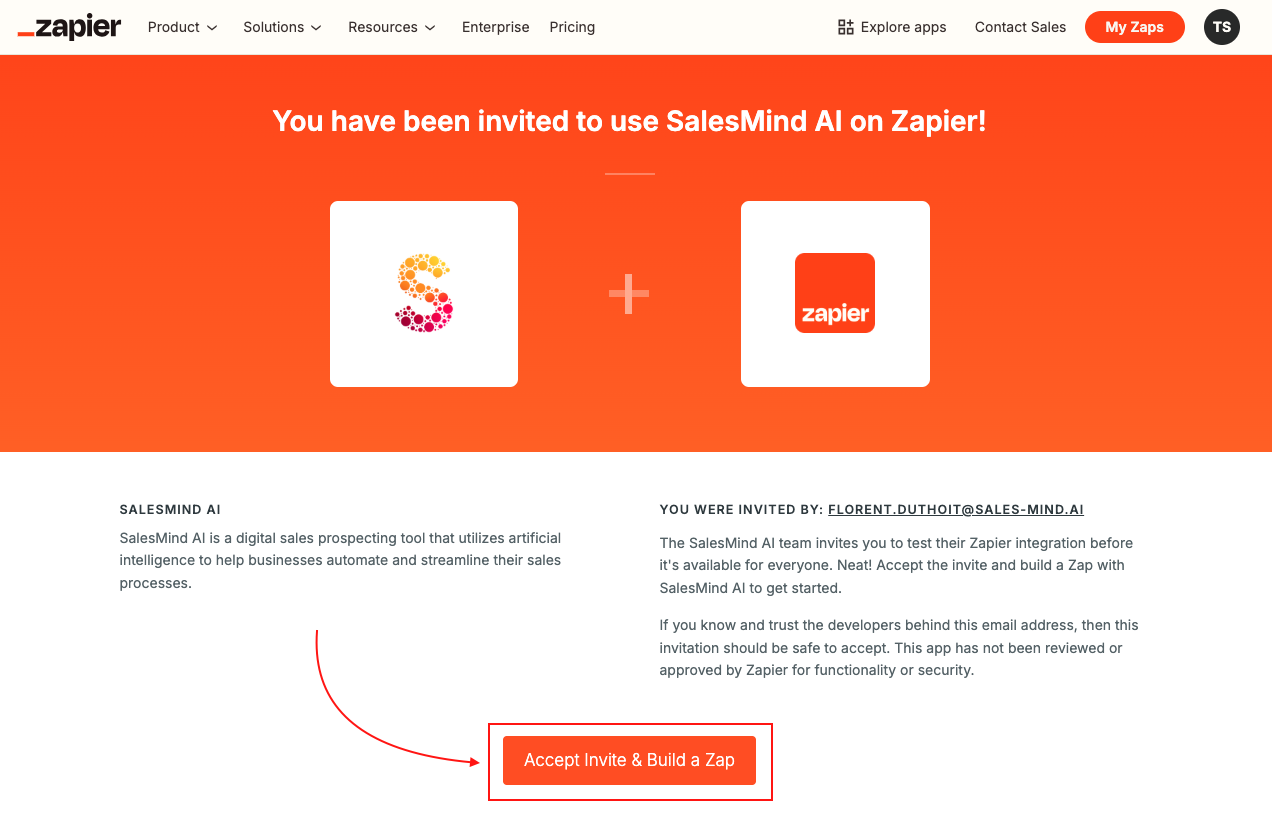
This links your Leadvista AI account to Zapier. You can now create automated workflows using Leadvista AI as a trigger or action.
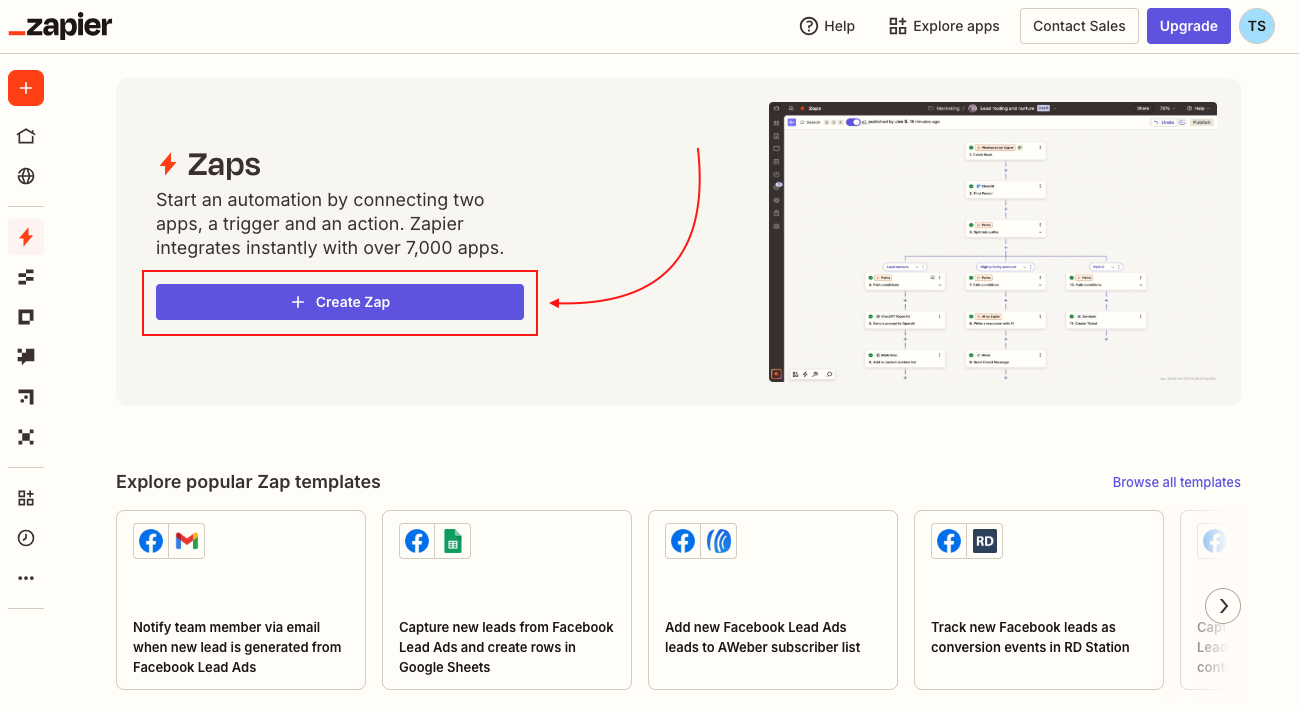
Step 4: Start Automating
With the connection live, you can build Zaps that:
- Trigger when a new lead is added in Leadvista AI
- Send lead data to your CRM, Slack, Google Sheets, or email
- Automate follow-up tasks across thousands of apps
💡 Tip: Run a test Zap with a single lead before scaling. This confirms data is flowing correctly between Leadvista AI and your connected app.
⚠️ Warning: Make sure you have the right permissions in Leadvista AI to connect an agent to Zapier. If the Connect button is greyed out, check your account role.
What's Next
- Explore the Leadvista AI API for more advanced, custom integrations
- Check the Autopilot and CRM features to understand which Leadvista AI events you can trigger Zaps from