Prerequisites
- An active Leadvista AI account
- Access to Settings in your Leadvista AI dashboard
Step 1: Generate Your API Key
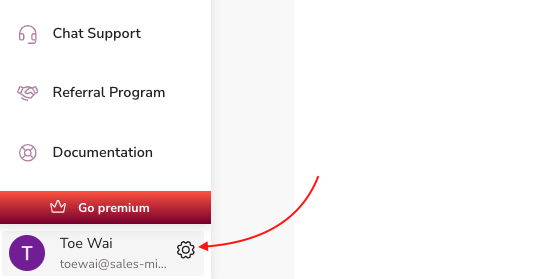
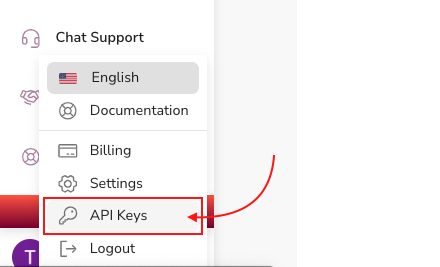
- Go to Leadvista AI API Settings (Settings > API tab).
- Find the API Key section.
- Click Generate API Key.
- Copy the key — you'll need it in the next step.
💡 Tip: Store your API key somewhere safe. You won't be able to view it again after leaving the page.
Step 2: Authorize in the API Docs
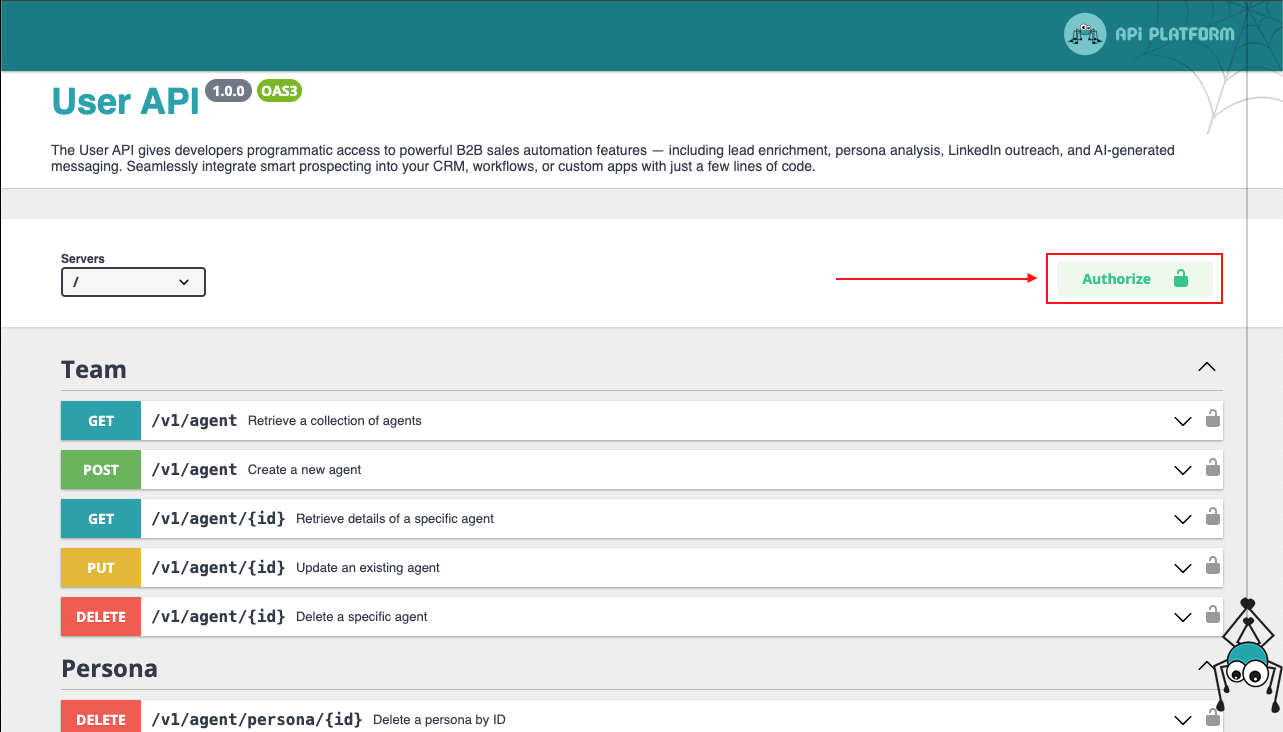
- Open the Leadvista AI API Documentation.
- Click Authorize at the top of the page.
- Paste your API key into the input field.
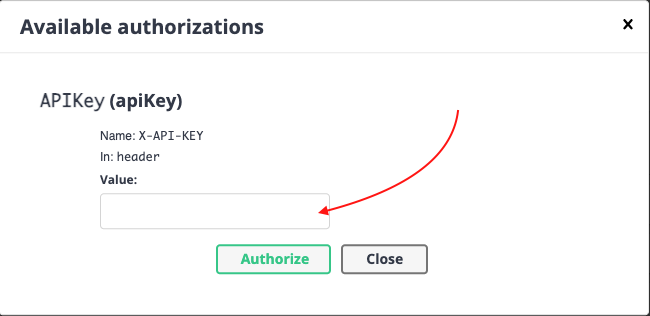
- Click Authorize, then Close the pop-up.
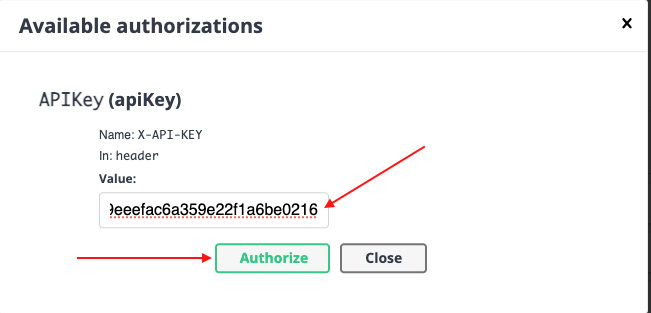
You're now authenticated and ready to make API calls.
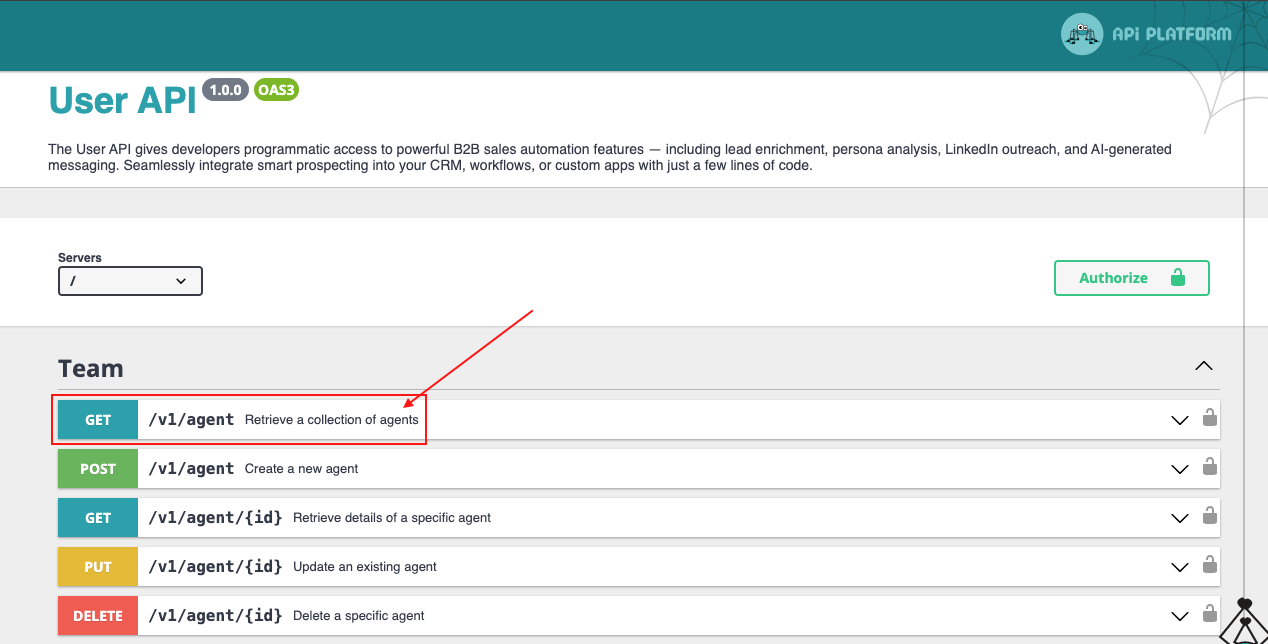
Step 3: Make Your First API Request
Let's test with a GET request to retrieve your agents.
- In the API Docs, navigate to GET /v1/agent.
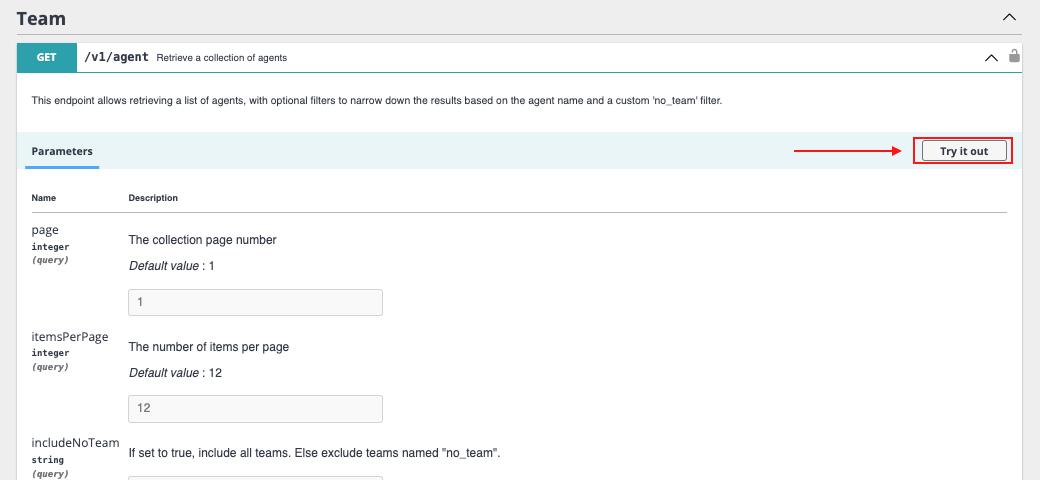
- Expand the request section.
- Click Try it out.
- Scroll down and click Execute.
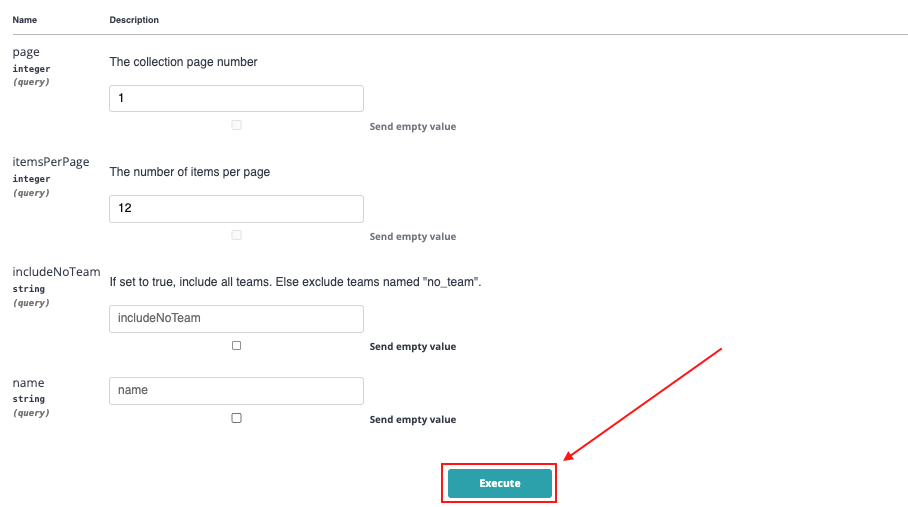
You'll see the cURL command and the response returned from the API. A successful response confirms your connection is working.
Step 4: Integrate and Automate
With API access confirmed, you can now:
- Explore other endpoints (leads, campaigns, sequences)
- Connect Leadvista AI to your CRM or internal tools
- Build automated workflows triggered by Leadvista AI events
👉 Note: Check the API docs for rate limits and pagination details before building production integrations.
What's Next
- Learn about the Autopilot and CRM features in Leadvista AI to understand what data you can pull via API
- Explore the Zapier integration if you prefer a no-code automation approach